Welcome to the wonderful world of rockhounding!
I have been rockhounding for decades and I can tell you it is one of the most exciting and pleasurable life experiences one could ever have.
The thrill of the rock hunt and then the payoff of finding beautiful gemstones is a rush, especially when you have spent hours of time researching and honing your skills. Once you learn enough about geology, mapping, and identifying gems, you can find some really impressive and even valuable gemstones.
I want to pass my knowledge on to you so you can begin to enjoy this rewarding and thrilling hobby. Trust me, its not that far out of reach and there is plenty of gemstones still to be found. You could even make your own discovery of a lifetime!
In this article, I go over how to find gemstone dig sites, what tools to bring, how to identify gems and minerals, safety tips, and the regulations of digging in different land types.
There are also many linked articles that expand on each and every topic so be sure to bookmark this page as it is a treasure trove of information!

NEW: Arizona Rockhounding Tours with Regina!
Come dig with me at the Lone Star Mine

The Lone Star Mine is a fluorite mine that is loaded with thousands of pounds of crystals still in the tailings. It is located in Cochise County, one hour southeast of Tucson. Come on out and I will take you on an adventure you will never forget!
Finding Rockhounding Locations
Finding the right spot to dig can make or break your rockhounding adventure. There is a misconception that everything cool has been found and that there is nothing left to find. This is absolutely not true! There are TONS of gemstones, minerals, and cool rocks out there left to find, you just gotta get out there with some knowledge and some determination and you WILL find minerals.
I use many techniques to find awesome locations, many that have not been discovered before. I learn through local rockhounding groups, by researching locations on public lands, I read the geology to find crevices and vugs that may contain crystals, I scout through dry riverbeds, and my favorite technique, finding old mines so I can look through the tailings for gems and minerals.
I highly recommend getting good with mapping as you will need to navigate to and from spots, which can be very remote. You will also want to save the locations of your rockhounding adventures. For this, I recommend the OnX Hunt app. I have used this app for many years on all my explorations and adventures and it has always been reliable.
Start with Local Resources
One of the best ways to find rockhounding locations is to start local. This a great way to familiarize yourself with the types of rocks and minerals found in your area, including the mining history, geology, mineral formations, and fossilization zones.
- Visit Local Natural History Museums and Nature Centers: Museums are an epitome of knowledge and they have displays of local rocks, minerals, and fossils along with local animal and plant knowledge which is valuable for building wilderness skills. These exhibits can give you clues about what you might find nearby, especially through the location's mining history. You can also ask the workers about the geology and minerals in the area - you might get some really good advice.
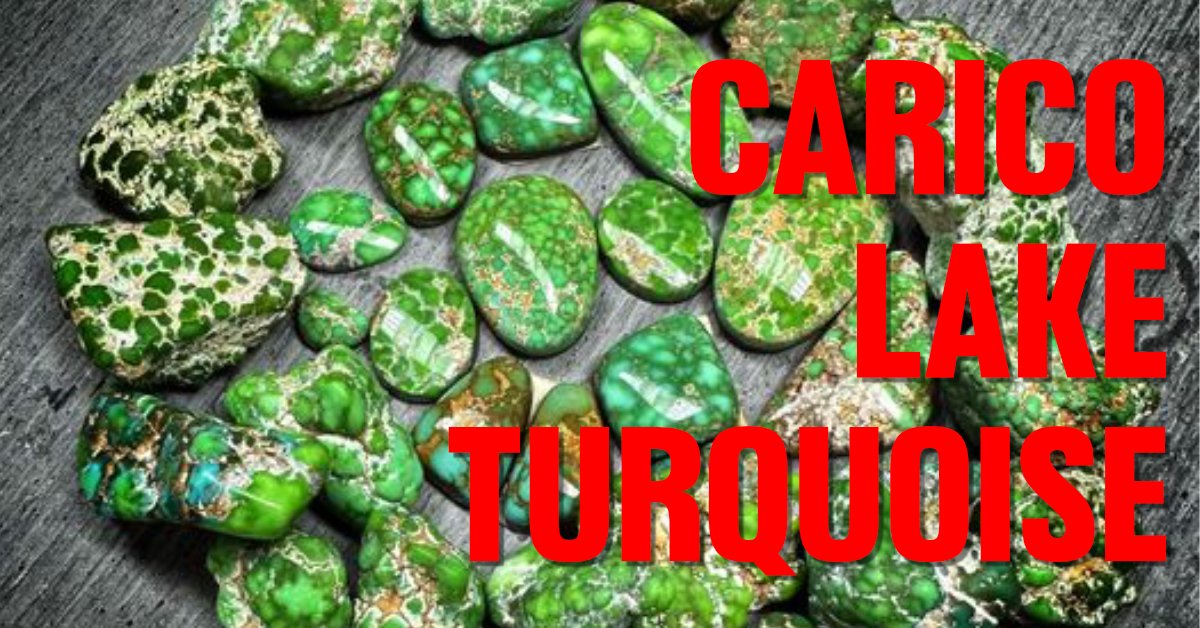
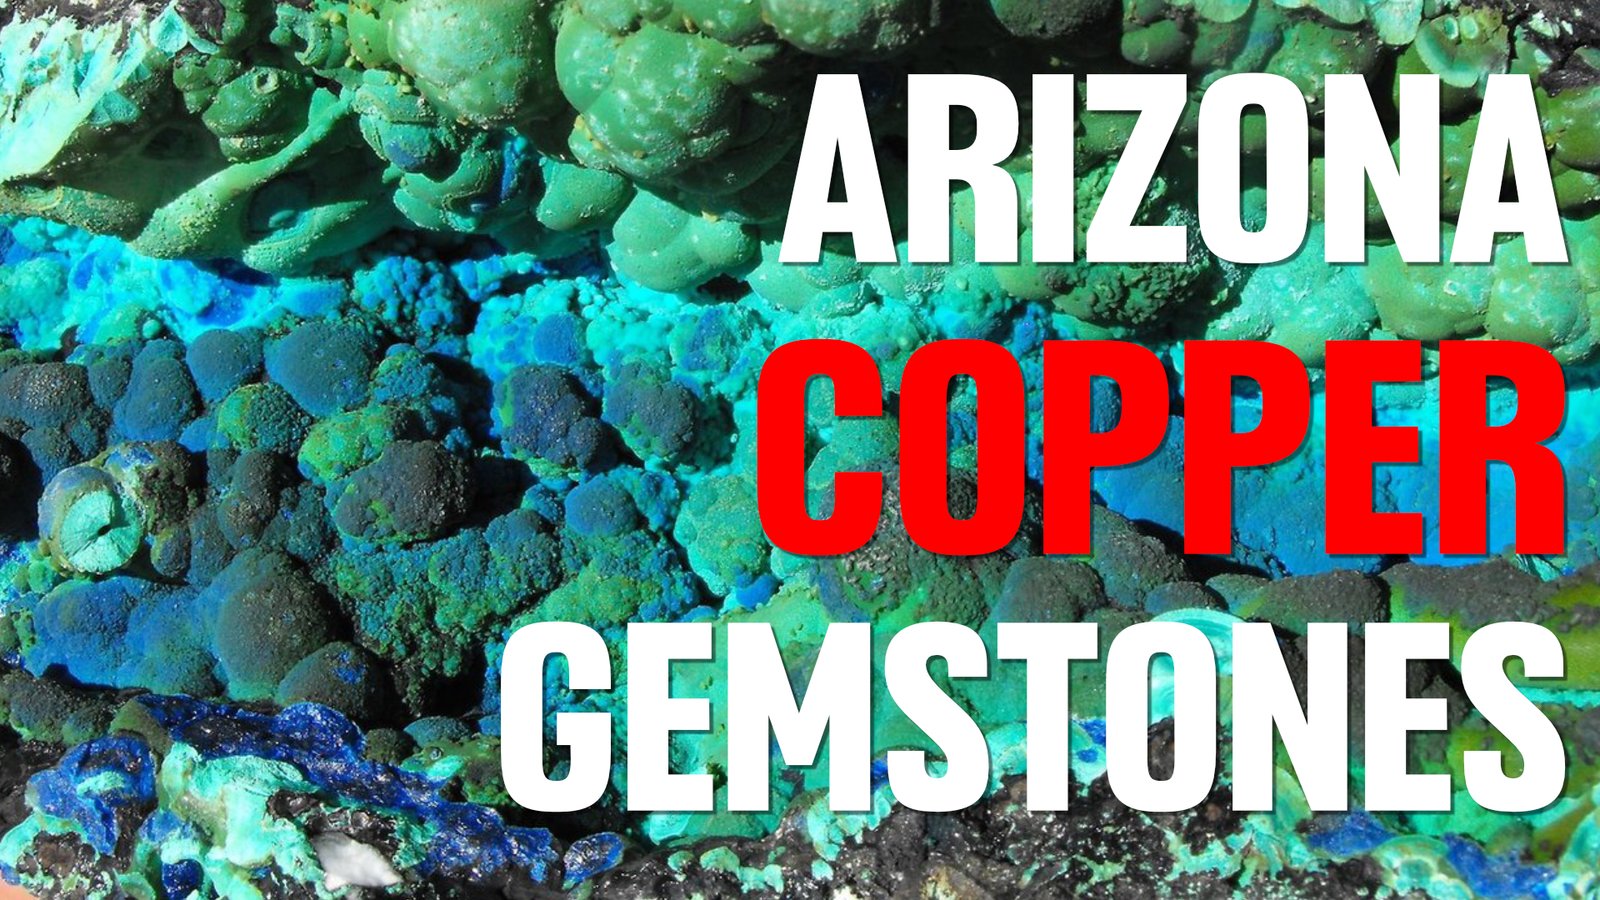
- Learn about the Local Mining History: Knowing what the old miners were digging up in your area is extremely helpful to understanding what you can find in your location. For example: I live in Southern Arizona and my county is well known for rich copper deposits. Copper gemstones include turquoise, chrysocolla, azurite, malachite, and wulfenite. I find these gems all the time!
- Check Out Geological Maps: Geological maps are a rockhound’s best friend. They show the types of rock formations in an area, which can help you pinpoint potential sites. These maps are often available online through state geological surveys or at local libraries.
- Join a Rockhounding Club: Local rockhounding clubs are an excellent resource for finding the best locations. Members often share their favorite spots and might even organize group trips to rockhounding sites. Plus, you’ll get to learn from more experienced rockhounds.

Public Lands: State Parks, National Forests, and BLM Lands
Public lands are some of the most accessible and rewarding places for rockhounding. Here’s what you need to know about exploring these areas:
- State Parks: There are State Parks that allow rockhounding, especially in designated areas known for their geological features. Before you go, check the park’s website or contact the park office to confirm the rules. Some parks may require permits, or they may have restrictions on the amount or type of material you can collect. Do note that State Parks are usually more restrictive than National Forest or BLM land, and many State Parks do not allow collecting at all.
- National Forests: These vast areas of public land are open to rockhounding, with some restrictions. Generally, casual collecting for personal use is allowed, but motorized equipment is mostly banned, unless you have a claim. National forests are huge amounts of land that can be very remote, and locations can be hard to reach. Make sure to plan your trip accordingly and pack enough water and supplies.
- Bureau of Land Management (BLM) Lands: BLM stands for Bureau of Land Management and is the largest swath of public lands available to us explorers. BLM agency manages multiple uses on public lands, including recreational and rockhounding activity. Again, motorized equipment is usually not allowed unless you have a claim.
Old Mines and Quarries
Abandoned mines are some of the best places to find high-quality minerals and crystals. These locations were originally developed because of the rich mineral deposits, so you know there’s something good there. Searching through tailings piles from abandoned mines are my favorite way to find gems and minerals. The old miners did all the work of excavating the rock, now all you have to do is find the goodies!
My favorite old mines to explore are copper mines. You can find copper based gemstones such as turquoise, chrysocolla, azurite, and malachite. Read more about how to find copper based gemstones.
Make sure to be very prepared when rockhounding around and in old mines. There are many dangers and hazards to consider:
- Check for Safety and Legal Access: Many old mines and quarries are on private property or have been closed for safety reasons. Before exploring, ensure that you have permission to be there and that the site is safe. Abandoned mines can be particularly hazardous due to unstable structures, hidden shafts, toxic chemicals and bad air.
- Be Prepared for Hard Labor: Rockhounding in these locations can be physically demanding. The terrain is often rough, with steep inclines, loose rocks, and uneven ground. Wear appropriate footwear, and bring the right tools, including ropes or harnesses if needed for steeper areas.
- Focus on the Tailings: In old mines, the tailings (piles of discarded rock) are often rich with overlooked minerals. Many miners were only interested in certain types of ore, leaving behind other valuable minerals and crystals. Sifting through these tailings can yield impressive finds.
Riverbeds and Beaches
Waterways and beaches are nature’s way of polishing and sorting rocks, making them great locations for finding tumbled smooth stones. I love hunting for rocks in Arizona's many washes. The washes are usually dry but in the summer during monsoon season, the rocks become smooth and round. You can find agates, chalcedony, and jasper in Arizona riverbeds.
- Timing is Key: The best time to search riverbeds is after a storm or during low water levels. Storms can dislodge rocks and minerals from upstream, depositing them in accessible areas. Similarly, low water levels expose more of the riverbed, increasing your chances of finding something special.
- Look for Gravel Bars: In rivers, gravel bars are prime spots to search for gems, minerals, and gold. These are areas where the water slows down, causing heavier materials like rocks and minerals to settle. Take your time sifting through these areas—you never know what might turn up.
- Explore Tidal Zones on Beaches: Beaches, especially those with rocky shorelines, are excellent for finding agates, jasper, and other polished stones. Focus on the tidal zones, where waves have deposited rocks and pebbles. Early mornings or just after high tide are usually the best times to search.

Rockhounding on Private Land
Sometimes the best rockhounding spots are on private land. If you find a promising location that’s privately owned, don’t be afraid to ask the landowner for permission to explore:
- Look for pay-to-dig sites: there are many awesome spots where you pay a small fee to dig for precious gemstones. One of my favorite locations is Gem Mountain in Montana. I paid $120 to dig for the day and found a sapphire worth thousands on my birthday. It was an awesome experience.
- Join Prospector's Associations: Most areas that are rich in minerals and metals have associations where for a yearly fee you can access claims and private properties that the association owns.
Want to learn more about mapping rockhounding digsites? Check out my awesome video tutorial!
Must-Have Rockhounding Tools
Getting started in rockhounding is a lot more fun when you’re equipped with the right tools. I personally don't like to carry too many tools, just the essentials. Carrying the right tools will make your hunts more successful and enjoyable.
I have many rockhounding tools for sale right here in my shop so make sure to check out my inventory! I price my tools at affordable ranges and when you purchase from me you help support my content creator endeavors.
Here's a list of must-have rockhounding tools for beginners:
Rock Hammer
A good rock hammer is your best friend in the field. It helps break open rocks to reveal what’s inside and is perfect for prying specimens out of crevices. Look for one with a pointed tip on one side for splitting rocks and a flat head for hammering.
Chisel
A hammer can be too clunky for more delicate jobs, so I recommend a nice masonry chisel with a flathead. I really enjoy these chisels with a handle grip on it and consider it a must-have chisel in the field. Use chisels to wedge into cracks, pry rocks apart, and hammer out crystal vugs with more precision than a hammer alone.
Compact Shovel
I personally have a collapsible lightweight camping shovel that can move a lot of material and dirt from where I am digging. This thing fits perfectly into my rockhounding pack.
Safety Gear (Gloves & Goggles)
Protect your hands with a sturdy pair of gloves, and always wear safety goggles when hammering or chiseling. It’s easy for sharp rock shards to fly around, and you want to keep your eyes and hands safe from injury. No, squinting does not count!
Magnifying Glass or Loupe
The best details in a gemstone are the tiny complex formations of the crystals. A magnifying glass or jeweler’s loupe lets you see fine features like crystal structures or tiny flecks of color that can be easy to miss with the naked eye. This also helps with mineral identification and searching for gold in quar
Collecting Bag
I like a soft collecting bag that I can load up with rocks. These bags are good for trekking long distances. However, if you get lucky enough to rockhound close to the truck, any old bucket will do.
With these essential tools, you’ll be ready for your next rockhounding adventure. As you grow more experienced, you might want to add to your toolkit, but for now, these basics will help you get off to a great start!
Gem and Mineral Identification Guide
Identifying the gems and minerals you find is one of the most exciting parts of rockhounding. While some specimens may be easy to recognize, others require a bit more detective work. Here’s a simple guide to help you figure out what you’ve uncovered:
Mineral Color
Color is often the first thing you notice, but it can sometimes be misleading since minerals can come in a variety of shades. For example, quartz can be clear, purple (amethyst), pink (rose quartz), or even smoky. Always use color as a starting point, but don’t rely on it alone.
Gemstone Luster
Luster describes how a mineral reflects light. Is your specimen shiny like a piece of glass or metal? That’s a vitreous or metallic luster. Does it have a dull, earthy surface? Pay attention to how the surface catches the light—this can give clues to its identity.
Streak Test
The streak test helps you figure out a mineral’s true color. To perform this, rub the mineral on an unglazed ceramic tile (called a streak plate). The color of the streak left behind can be different from the color of the mineral itself, which can be a big identification clue. For example, pyrite (fool's gold) may look gold, but its streak will be a greenish-black.
Moh's Hardness Scale
The hardness of a mineral is measured by how easily it can be scratched, using the Mohs Hardness Scale (1-10). Talc, the softest, ranks at 1, while diamond, the hardest, ranks at 10. You can test hardness using everyday items like a fingernail (hardness 2.5), a copper penny (3.5), or a steel file (6.5). This is a great way to tell minerals apart that might look similar, like calcite (soft) versus quartz (harder).
Crystal Formations
If you’re lucky, you’ll find a specimen with distinct crystal formations. The shape of a crystal can give away its identity. For instance, quartz often forms hexagonal (six-sided) crystals, while fluorite forms cubic shapes. Keep an eye out for these natural geometric patterns.

Cleavage and Fracture
Cleavage refers to how a mineral breaks along flat planes, while fracture describes how it breaks when it doesn’t follow a plane. For example, mica breaks into thin sheets because it has perfect cleavage, while quartz breaks with a conchoidal (curved) fracture.
Transparency
Check if the mineral is transparent (you can see through it), translucent (light passes through but it's cloudy), or opaque (no light passes through). This can help narrow down your possibilities, especially with gems like quartz or garnet.
Magnetism
Some minerals, like a meteor, are magnetic. If your rock is attracted to a magnet, you may have found a specimen with magnetic properties—this is a quick and easy way to identify iron-rich minerals.
Specific Gravity
Some minerals are much heavier than they look. For instance, galena, which contains lead, feels very dense compared to other rocks of the same size. Gold is quite heavy, while gypsum is very light.
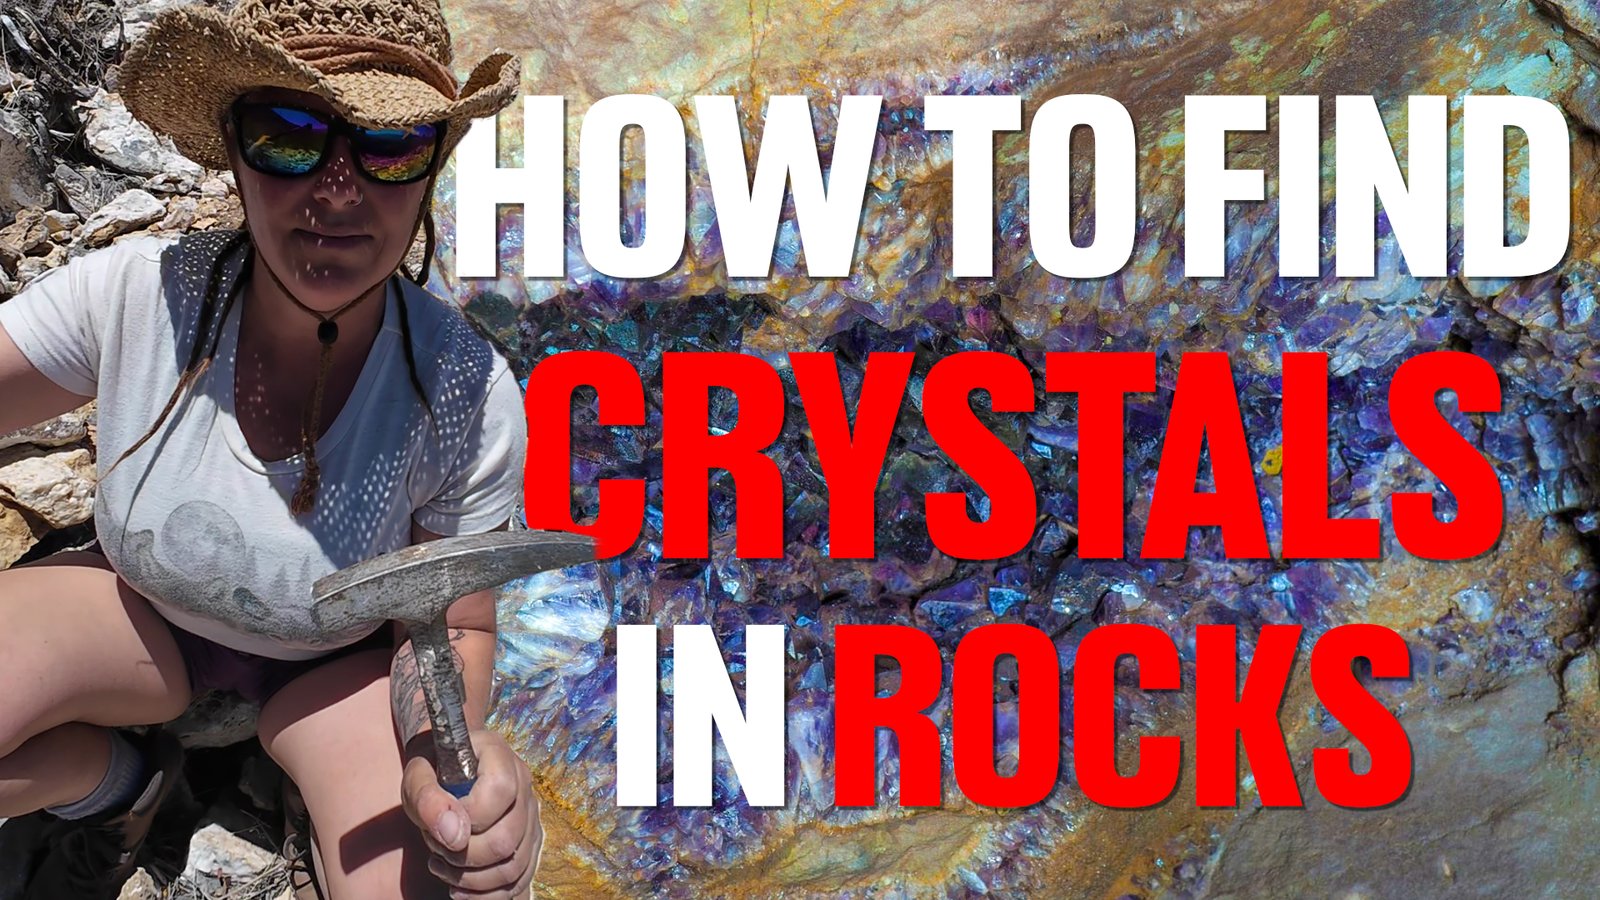
How to Find Crystals in Rocks
Discovering crystals hidden inside rocks is like uncovering nature's treasure. But to do it successfully, you need to know where and how to look. Here are some tips and techniques to help you find crystals in rocks during your next rockhounding adventure:
Know Where to Look
Certain geological environments are more likely to produce crystals. These are some of the best places to find them:
Igneous Rock Formations: Many crystals, like quartz and feldspar, form in volcanic environments. Look for areas with exposed igneous rocks, like granite or basalt, which often have crystal-filled cavities or veins.
Sedimentary Rock Layers: Crystals like gypsum and calcite are often found in sedimentary rocks. Limestone and sandstone formations can sometimes hold beautiful crystal specimens, especially in fossilized or evaporite layers.
Pegmatite Veins: These large, crystal-rich veins are often found in areas with ancient volcanic activity. Pegmatites can contain gems like tourmaline, topaz, and beryl (emeralds and aquamarines).
Quarries and Mines: Abandoned quarries and active mines can be prime spots for finding crystals. Many rockhounds gain access to these areas through organized field trips or with permission from the owners.

Look for Geodes and Vugs
Geodes: These are hollow rocks that contain crystals inside. They often look plain from the outside, but when you crack them open, they can reveal stunning quartz, amethyst, or calcite crystals. You can find geodes in volcanic ash beds, limestone, or even riverbeds.
Vugs: These are small cavities within rocks where crystals grow. Keep an eye out for rocks with small holes or indentations—vugs often contain tiny, perfect crystals. Look closely at rock faces, particularly in igneous formations, to spot them.
Follow Natural Indicators
Quartz Veins: Quartz veins are often a sign that other minerals and crystals may be nearby. If you find a vein of quartz running through a rock formation, there’s a good chance you’ll find other crystals in the area.
Look for Weathered Rocks: Rocks that have been naturally weathered or eroded may have already exposed their crystal interiors. Search riverbeds, cliff faces, and outcrops where erosion has worn away the outer layers, making it easier to find crystals.
Color and Shine: Crystals often have a natural luster or shimmer. Scan the ground for spots where sunlight reflects off the surface of a rock—this can indicate a hidden crystal or mineral.
I go into depth in my article about how to find crystals in rocks.
Cleaning Your Rockhounding Finds
After a successful rockhounding adventure, you’ll likely return with a haul of dirt-encrusted gems, minerals, and rocks. Cleaning your finds is a crucial step to revealing their true beauty. Here’s a guide to cleaning and caring for your treasures without damaging them:
1. Basic Rinse
Start with a simple rinse to remove surface dirt:
Tools Needed: Soft brush (like a toothbrush), water, and a container.
Method: Rinse your specimens under lukewarm water, using the brush to gently scrub away loose dirt and mud. This step works well for hard minerals like quartz or jasper. For delicate stones, be gentler to avoid scratching the surface.
2. Soaking in Water
For rocks with more stubborn dirt:
Tools Needed: A bucket or bowl and distilled water.
Method: Soak your rocks in water for a few hours or overnight. This helps loosen tough dirt stuck in crevices. For minerals like calcite, avoid prolonged soaking as water can affect their structure over time.
3. Removing Stains
To tackle deeper stains like iron deposits:
Oxalic Acid: Oxalic acid is great for removing iron stains (rust) from quartz and similar minerals. Mix a weak solution of oxalic acid in water and soak your specimens. Wear gloves and safety goggles while handling acid, and always follow instructions for safe use.
Vinegar and Baking Soda: A less intense option is to use white vinegar or a baking soda paste. Vinegar can help dissolve calcite or lime deposits, and baking soda can work as a mild abrasive. Apply it with a brush, let it sit for a few minutes, then rinse thoroughly.
4. Dealing with Delicate Crystals
Some minerals, like selenite or gypsum, are soft and can dissolve or scratch easily:
Tools Needed: Soft cloth or sponge and water.
Method: For delicate crystals, avoid harsh scrubbing or soaking. Instead, gently dab them with a damp cloth to clean off dust or surface grime. Be extra cautious with any chemical treatments, as they can damage the structure of softer minerals.

5. Using Muriatic Acid (for Tougher Cases)
Tools Needed: Muriatic acid, water, and safety gear (gloves, goggles, and a well-ventilated area).
Method: Muriatic acid is a strong acid used to clean rocks covered in calcite or other mineral deposits. Only use this method for hard minerals like agate or quartz. Soak the rock for a few minutes and rinse thoroughly with water. Be very careful with this method—muriatic acid is dangerous if not handled properly.
6. Polishing Your Finds
For a smoother, shinier finish:
Tools Needed: Polishing compound, rotary tool, or rock tumbler.
Method: After cleaning, you can polish your stones to bring out their luster. A rock tumbler is great for smaller stones, using grit to smooth and polish them over several stages. For larger stones, a rotary tool with a polishing attachment can buff and shine the surface.
7. Preventing Future Stains
Once your rocks are clean, you can take steps to keep them in top condition:
Sealants: Consider applying a sealant or mineral oil to certain rocks to protect them from moisture and air, which can cause staining or dulling over time. Sealants are especially useful for porous rocks or stones with fractures.
Proper Storage: Store your cleaned specimens in a dry, dust-free place, preferably in display cases or containers. This will prevent dust build-up and keep them looking sharp.
8. Special Care for Fossils
Method: Fossils may require special cleaning techniques depending on the material. Many fossils are embedded in sedimentary rock, and you’ll need to use delicate tools like dental picks or small brushes to clean around them. Avoid using any acid or harsh chemicals, as these can erode fossilized material.
With the right techniques, your rockhounding finds will sparkle and shine like they deserve to! Cleaning not only enhances their beauty but also helps preserve them for display or future study. Just remember to always use gentle methods first and work up to stronger solutions only when necessary.

Rockhounding Safety Tips
While rockhounding is a fun and rewarding hobby, it’s important to prioritize safety while you’re out exploring. Whether you’re combing through riverbeds, digging in quarries, or hiking through rugged terrain, here are some essential safety tips to ensure a safe and enjoyable adventure:
Wear Proper Safety Gear
Gloves: Always wear gloves to protect your hands from sharp rocks, jagged edges, or rough terrain. Thick, sturdy gloves are essential when using tools like rock hammers and chisels.
Safety Goggles: Protect your eyes from flying debris when hammering or chiseling rocks. Even small rock shards can cause serious injury, so always wear safety goggles.
Sturdy Footwear: Wear durable hiking boots with good ankle support. They’ll protect your feet from sharp rocks and give you traction on uneven surfaces.
Long Pants and Sleeves: Depending on the environment, long sleeves and pants can protect you from scrapes, sunburn, and insect bites.
Bring a First Aid Kit
Accidents can happen, even on the easiest rockhounding trips. Always carry a basic first aid kit with essentials like bandages, antiseptic wipes, tweezers (for removing splinters), and pain relievers.
Know how to use your first aid kit and treat common injuries like cuts, scrapes, or blisters.

Be Aware of Your Surroundings
Watch for Loose Rocks: Whether you’re climbing over rocks or hammering on them, loose rocks can pose a hazard. Always check the stability of rocks before stepping on or prying them loose.
Beware of Cliffs and Edges: If you’re rockhounding in mountainous or hilly areas, be cautious around steep cliffs or edges. Keep a safe distance from unstable ground and avoid standing directly below someone who’s working on a higher slope.
Pay Attention to Wildlife: Rockhounding takes you into nature, so you might encounter wildlife. Be mindful of snakes, insects, and other animals that could be hiding under rocks or in crevices. Never disturb wildlife, and watch your step!
Know the Terrain
Do Your Research: Before heading out, research the area where you’ll be rockhounding. Understand the type of terrain, potential hazards, and any weather-related risks.
Check the Weather: Always check the weather forecast before your trip. Sudden rainstorms can make some areas dangerous, especially riverbeds or steep, rocky slopes that can become slippery.
Stay on Marked Trails: If possible, stick to marked trails or well-established paths. Wandering off into unknown areas can increase your chances of getting lost or injured.
Stay Hydrated and Bring Calories
Rockhounding can be physically demanding, especially if you’re hiking or digging for extended periods.
Bring plenty of water to stay hydrated, especially in hot or dry environments. Pack energy-boosting snacks to keep your stamina up throughout the day.
6. Rockhounding with a Buddy
It’s always safer to rockhound with a partner or in a group, especially in remote or rugged locations. If you’re rockhounding solo, be sure to let someone know your exact location and expected return time.
Buddy System: When using tools like hammers or chisels, make sure no one is standing too close to you to avoid accidents from flying rock fragments.
Respect the Environment
Leave No Trace: When you’re done rockhounding, be sure to clean up after yourself. Don’t leave trash behind, and fill in any holes you may have dug. Respecting nature ensures that future rockhounds and others can enjoy the area too.
Know Local Laws and Regulations: Different areas have different rules for collecting rocks and minerals. Make sure you’re aware of local regulations and respect any protected lands or private property boundaries.
Plan for Emergencies
Navigation Tools: Bring a map, GPS device, or compass to help you navigate, especially in remote areas. Make sure your phone is fully charged, but don’t rely solely on it for navigation as some areas may not have cell service.
Know When to Call It Quits: If you feel fatigued, the weather takes a turn, or the terrain becomes too dangerous, it’s okay to call it a day and head back. Safety always comes first.
Be Mindful of Heat and Sun
Sun Protection: Wear sunscreen, a hat, and sunglasses to protect yourself from UV rays. Prolonged exposure to the sun can lead to sunburn or heat exhaustion.
Avoid Overheating: Take regular breaks in the shade, drink plenty of water, and pace yourself, especially in hot climates or during the summer months.
By following these safety tips, you can have a fun, exciting, and most importantly, safe rockhounding experience. Preparation and caution go a long way toward ensuring that your hunt for gems and minerals is both thrilling and worry-free.
Rockhounding Rules and Regulations
Before you head out on your rockhounding adventures, it’s important to understand the laws and regulations that govern where and how you can collect rocks, minerals, and fossils. Different areas have different rules, and failing to follow them could result in fines, confiscation of your finds, or even legal trouble. Here's what you need to know:
Federal Land Regulations
The United States has vast public lands managed by federal agencies such as the Bureau of Land Management (BLM), the National Park Service (NPS), and the U.S. Forest Service. Each agency has its own rules regarding rockhounding:

Bureau of Land Management (BLM): On most BLM land, casual rockhounding is allowed without a permit for personal use. However, there are limits on the amount you can collect—usually up to 25 pounds per day with a yearly limit of 250 pounds. Collection of fossils or protected minerals may require a permit or be restricted entirely.
National Parks and Monuments: Rockhounding is strictly prohibited in all U.S. National Parks, National Monuments, and other protected areas managed by the National Park Service. Removing rocks, minerals, fossils, or any natural materials from these areas can result in fines or legal penalties.
U.S. Forest Service Land: Rockhounding is allowed on most National Forest land, but rules vary by location. In some areas, a free-use permit may be required, and there may be limits on how much you can collect. Always check with the local ranger office before collecting in National Forests.
State and Local Land
State Parks: Rules for collecting rocks and minerals in state parks vary widely from state to state. Some state parks allow limited rockhounding, while others prohibit it entirely. Always check the specific rules for the state park you plan to visit.
Local Regulations: Some counties and municipalities have their own regulations on rockhounding, especially in areas with sensitive ecosystems or protected land. If you’re rockhounding on city or county land, make sure to research local ordinances.
Now Get Out There and Find Some Awesome Rocks!
With the knowledge I just gave you, you can start your rockhounding journey now. Find some local resources, pack a bag, and go explore.
This is the best advice I can give you. You just gotta get out there and see what you can find. You would be surprised of the beautiful minerals and gems laying about in areas you would least expect it.
I have found crystals, agates, and fossils just by looking in dried up washes in Arizona.
Don't forget to mark where you find things so you can start mapping out where occurrences are concentrated.